


In the latest issue of Cloth Paper Scissors magazine that I just gave away for June's What the Heck Wednesday they show you how to emboss metal. It looked pretty cool.
It also looked like a lot of work and would require me to buy a lot of things that I didn't have and probably would never use again. It did however remind me of a technique I learned at a wonderful scrapbook camp that I try to attend every year! My aunt is one of the organizers and is wonderfully crafty and all around awesome (and no, I'm not just saying that because I think she reads my blog!)
Anyway, here's my take on embossing metal!

Supplies:
Technique 1: Automotive repair tape, or that shiney duct tape (not the gray stuff with the string in it!)


Technique 2: Automotive repair tape/duct tape
Cardstock, or regular paper would work too
Puffy fabric paint (any color!)
Technique 1: This is what I learned at camp (how old do I sound, 7?!)
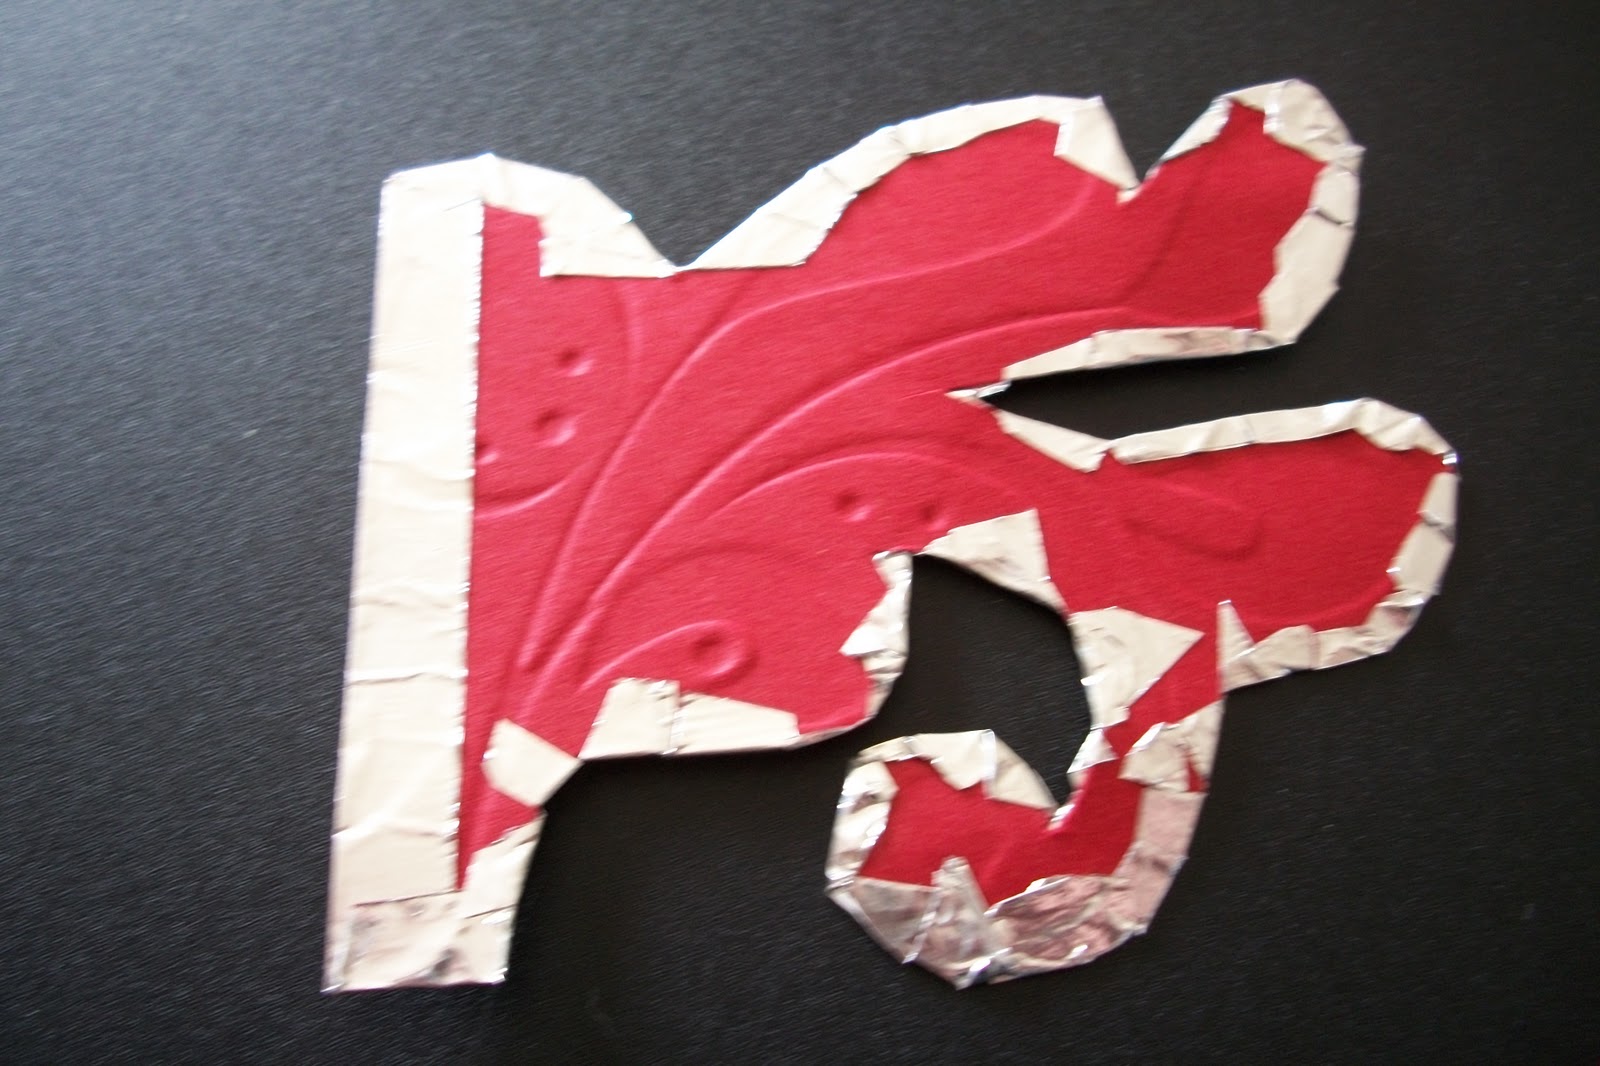
1. Take your piece of embossed paper and cut to whatever size/shape you want. I chose to cut out a section of vines, but the one I did at camp was a heart shape out of paper with squiggles on it.
2. Next, cut strips of your tape large enough to cover your paper shape, with some hang over. Carefully remove the backing and stick to your paper shape (you want to cover the raised side. But you could probably try covering the other side too, might make a cool "reverse" effect). Once it touches something it's going to be there for good, so be careful!!

3. Next, trim the tape to have a 1/4 - 1/2 inch border around your shape. Make small cuts into the tape so that it will fold over nicer around any curves. Finally, fold your paper over your shape.
4. Turn your shape right side up, and use an embossing tool to trace around the raised edges. If you're like me and don't have an embossing tool, use anything with a blunt round-ish point. I used an mechanical pencil with the lead pushed in. A knitting needle, etc. would work too! Don't press too hard or else you'll get sharp lines, or worse, rip the tape.


This embellishment would look great on cards, altered canvases, picture frames, on journal covers, anything really!
Technique 2:
Okay, so depending where you shop, embossed paper can be pricey. Yes, I think $1.29 for an 8.5x11 piece of paper is pricey. I'm cheap like that.
Also, if you want more than one design, you're going to have to buy multiple pieces of paper = pricey.
Here's an alternative. I like this one because it gives you the freedom to make whatever you want!
First, take your puff paint (the color doesn't matter because you'll be covering it up, but if you have one with a very fine tip, this would be ideal!) and "draw" whatever design you'd like on your paper. The most important part is trying to keep your pressure on the paint constant so that your lines of paint are about the same size.

I chose to do some free hand designs and also trace out a design on scrapbook paper that I really liked. If you're doing dots, make sure they're not too pointy, you don't want them to rip through the tape!

Now follow steps 2-5 of technique 1!

These are super fun and easy to do! They'd probably also look great if you colored them with alcohol inks. Right now I'm thinking that I wish I had those multi colored sharpie markers. My sister does... too bad she lives too far away for me to steal borrow them.
Well, that's it! I hope some of you out there give it a try! Let me know if you do, I'd love to see your creations!!
Linking up to these parties:


Linking up to these parties:


What a great and fun idea!
ReplyDeleteThis is a very neat technique, thanks for sharing this idea!
ReplyDeleteThis is such a great idea. I do like to do traditional embossing on metal but I really like this tutorial for cards and craft projects. Thanks for sharing!
ReplyDeleteOoh, this is clever! Especially the puffy paint version - how sneaky and brilliant! I'm gonna try it. Thanks for the fun tutorial!
ReplyDeleteI have a roll of aluminum tape left over from sealing my ducts. Now I know what to do with it! Thanks!
ReplyDelete