Showing posts with label sewing. Show all posts

Thursday, 8 November 2012

Felt Mustaches {Movember Guest Post}


Time for the second guest in our Movember Series, and it's the lovely Kimberly from Bugaboo, Mini, Mr. and Me.  


I am so privileged to have Kimberly as a blog friend (makes me feel like one of those cool big bloggers!) because she's always so willing to help out and her creativity amazes me.  I know I say this pretty much every time she guest posts here, but she has some of the best wreaths around!!  I'll let her get to it now though...


Hello, Envirocraftiness-ians!  It's so fun to be back here on Jill's blog again. My name's Kimberly and I blog at http://bugaboominimrme.blogspot.com/


I love all sorts of crafting and sewing, not to mention cooking and baking and dabbling in photography and, well, pretty much anything that gets my creative juices flowing!  I'm also a soon to be published author!  My book, Modern Mod Podge features mod podge projects of my own design and is due out at the end of the month! 

I've been a fan of Jill since we judged a stashbust competition together what seems like forever ago. We've swapped blogs a few times, and I'm always a fan of her clever, frugal ideas.


In honor of Movember I've decided to share some simple felt stache dress-ups I've enjoyed making for my kids in the past.


You've no doubt seen many versions of faux facial hair, especially with the increasing trendiness of mustaches in the past year or so.  Here's what I like about these cuties:


1. Felt.  Soft.  Cheap.  No fray, so it's super easy to sew.  Pretty durable.


2. Double sided.  There's no front and back, so the kids don't have to worry about "getting it wrong" AND that simple feature can provide lots of variations!


3. Elastic ear loops, instead of one that goes around the back of the head.  We learned that it was fairly difficult for the kids to get the mustaches in the right spot behind their heads, and even MORE difficult to get the elastic to stay put and not slide down their little heads.  We solved the problem and still made sure different sized heads could wear each stache by using two ear loops!


Alright, enough talk.  Let's get down to business.  


You'll need:

felt in your choice of colors (think outside the box!  It's fun!)

skinny elastic OR elastic thread

a sewing machine

mustache templates

a sharpie

scissors


1. Find some mustache templates.  I realized that plain old printable mustache shapes that you can resize as needed are actually kind of hard to find.  Unless you want to pay for them from etsy.  So I made it easy on you and drew up my own on my computer.  You can find them on my blog.  Once you find ones you like, print them on card stock.


2. Cut them out.

3. Lay them down on a piece of felt.  Trace around the template with a sharpie.

4. You will need two pieces for each mustache.

5. Cut around the tracing.  You will cut on the inside of the marker line, so keep that in mind when you are sizing your templates.

6. Measure from the corner of the mouth to the back of the ear.  Double this length and cut two pieces of elastic the total amount.

7. Lay your mustache pieces together.

8. Fold your elastic pieces in half.


 9. With your elastic still folded in half, sandwich the cut ends in between the two mustache pieces.  Do this on both sides of the mustache, with the elastic pieces directly out or angles just slightly up.  Pin the elastic in place.  You can also pin the mustache pieces together if you are worried about them slipping.

10. Sew around the whole mustache with matching thread.

11. Begin sewing at the top of the mustache in the middle.  Make sure to backstitch.  Use a straight stitch and sew around the edge, it doesn't have to be perfect.

12. When you come to the elastic pieces, make sure to backstitch a few times over the elastic to really make sure it is sewn in place and won't pull out when stretched.


One easy and cute, soft and durable debonair little mustache!  


But wait!  There's more!  Remember how I said there were a lot of variations to this simple mustache?  One obvious variation is simply making different shapes and sizes of mustaches, but you can also make a beard!  In honor of the upcoming holiday season I, of course, had to create a Santa version.


I made this beard just as I made the mustaches - two pieces sandwiched together with the elastic loops inside.  I cut the mouth section out before sewing any of it.  Then I sewed around the outside and used a zigzag stitch around the mouth.


Here, I actually used elastic thread instead of elastic.  If you opt for elastic thread, keep in mind that it is incredibly stretchy so you will likely need about HALF the length you'd need in regular elastic.  You'll also want to backstitch over it many times to secure it and make sure your stitch length is set very low, or it will simply pull out.


And HERE is where it gets really fun.  It's probably my favorite variation to date:


Why is it a mullet stache?  Well, folks, like its namesake, this mustache is all about business in the front and party in the back!


A nice, normal, neutral color of felt for the front of the mustache.  And just in case you need a little fun, some pep or pizazz if you will, a bright, fun color for the back.  Just to keep them guessing.


For the walrus stache above, I also freehand sewed (freesewed?) some dark brown bristly hairs, for a bit of added detail.  I'll probably do this more often since I've decided I kind of love the look.


And just a note, between elastic or elastic thread - the elastic is easier to sew in place and make secure, but we have found that the elastic thread really does work better for tiny ears.  The elastic pieces - even when you used the extra skinny elastic - are sometimes a bit too bulky behind the ear for little kids.  Perfect for adults though!


Of course, you could make these for photobooth props or the like, but we like to use them for our dress up box or Halloween costumes (we used them for Mario and Luigi costumes
last year).  This year, I made a bushy cowboy stache, a Captain Blackbeard beard, a walrus, and a biker dude.


If you make a matching felt pirate hook (which you can find here), like the one seen in that photo of Captain Blackbeard, you'd have a pretty spiffy Christmas present for the little ones!


Thanks for letting play along with your fun Movember series, Jill!  I had a blast!



Thursday, 4 November 2010

Tutorial: Easy Peasy cape from fleece blanket

This year for halloween my mom wanted to be Little Red, our provincial phone company's mascot of sorts.


Even though we have a giant box of costumes at home, we were lacking a red cape! Can you believe it?


So what are two crafty ladies to do?  Make it of course!  My mom was in charge of making her own skirt and I was in charge of the cape.  She picked up a house coat and fleece blanket from the thrift store to make both.  


Here's my photo tutorial for the cape! If I forgot anything, or if you have question let me know!


**Cut 2, with the finished edge on the "front/face" part of the hood**


This could always be done with something other than fleece, but I found with this blanket you have a nice finished edge and there was no need to finish seams because it's fleece.  

Linking up:


Get your craft on Thurs.     Beyond The Picket Fence   giveaways  


Wednesday, 22 September 2010

Fall Stenciled Pillows

One thing I love is freezer paper stencils! They're sooo easy and the results are great!

I've done this on tee shirts, and this is the first time I'm trying something else.  AND I'm trying a brand new product (to me) which is very exciting, but I'll get to that in a bit.


1.  Measure your pillows and cut one square of your material an inch bigger to allow for a 1/2 inch seam allowance.  Cut 2 pieces for the back that are the same width as your square, but 2/3 as long.  Ex.  If your pillow is 17x17, cut one square 18x18, and then two pieces that are 18x12.  Also, the fatter the pillows, the longer you might want to make the two back pieces.


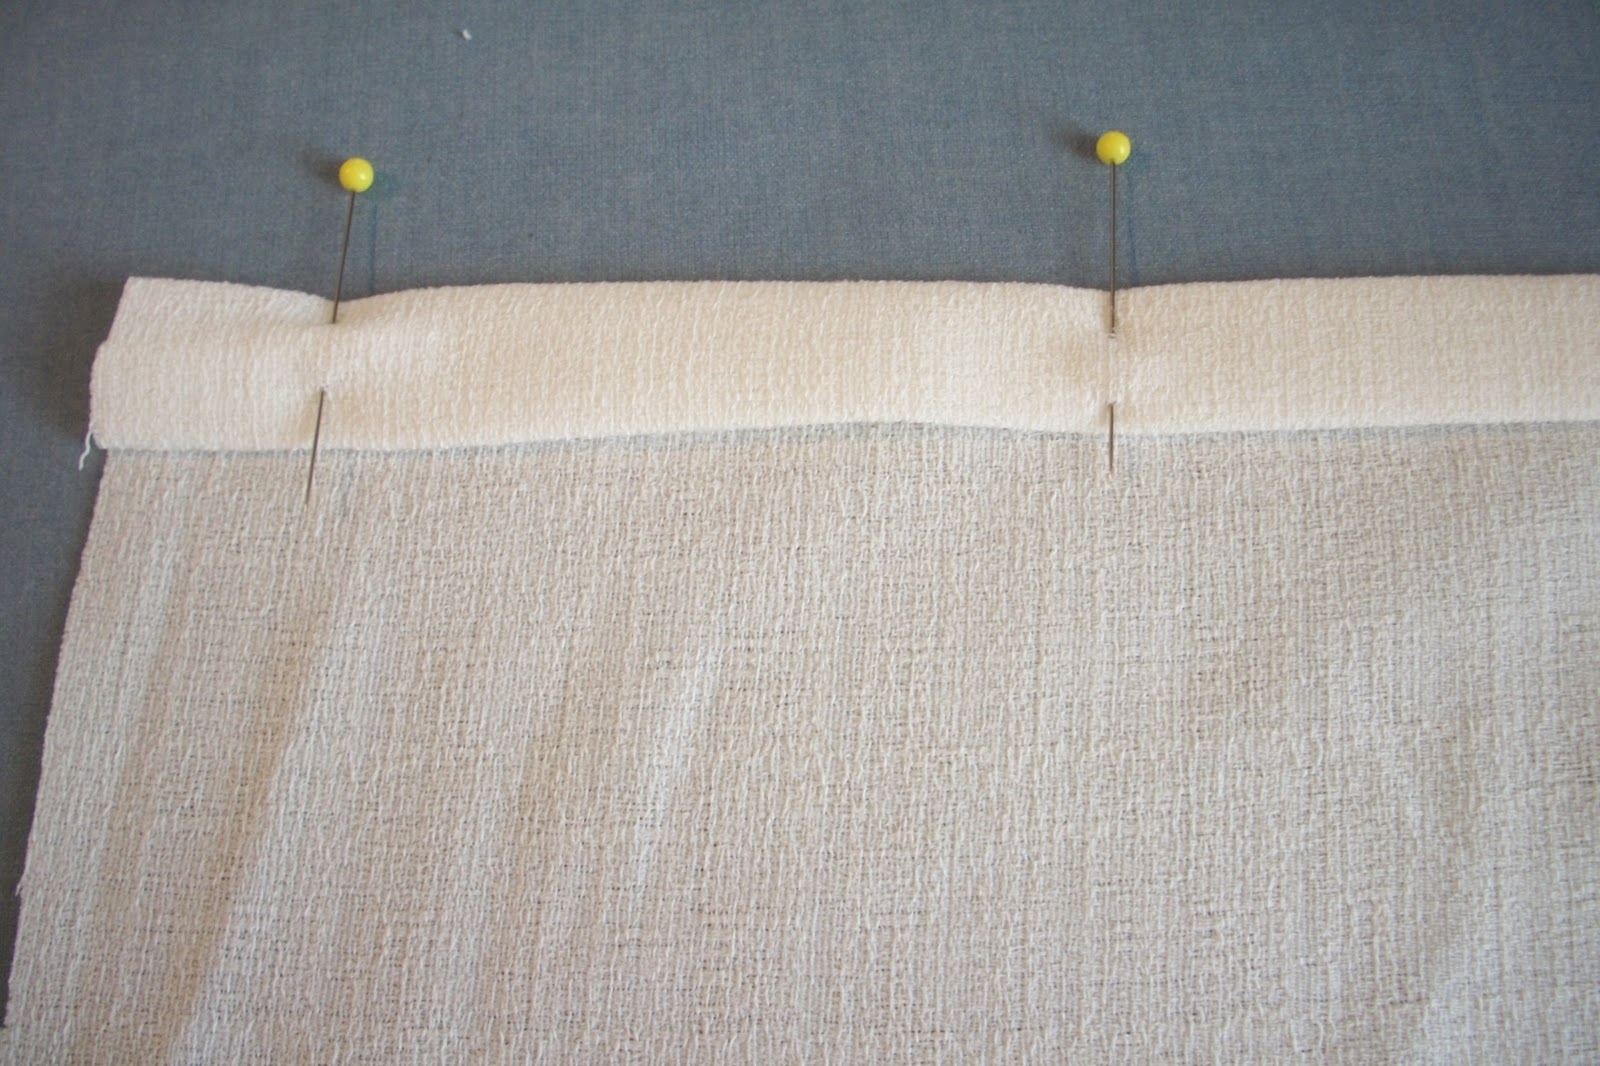
2.  With your two smaller squares, fold one edge over twice, press, and sew in place.  I did it this way because the material I'm using is super fray-prone, so I wanted the raw edge enclosed.  Another option is to serge or zigzag the edge, and only fold over once.


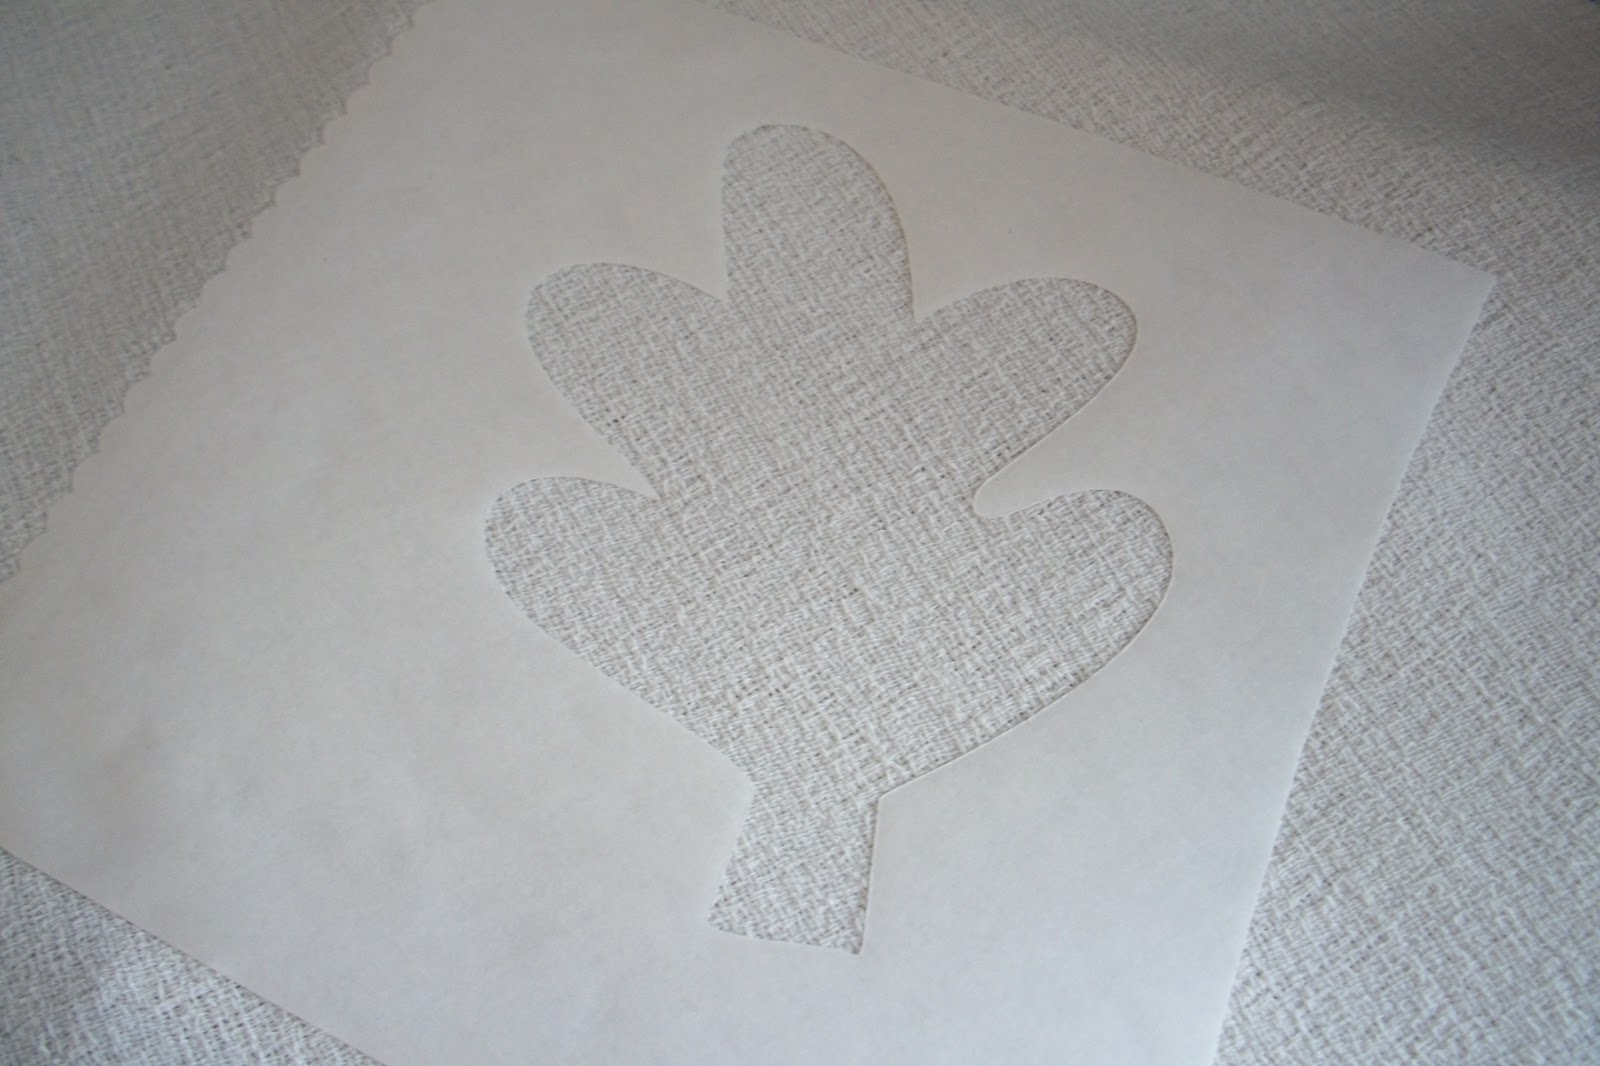
3.  Next, get out your freezer paper. Freezer paper is NOT wax paper.  It is waxy on one side, but papery on the other.  

Cut whatever you'd like to stencil out of it.  You can do this using a cricut (again, I used the doodlecharms cartridge) or you can print something off your computer onto the papery side and cut it out with an exacto knife.  You'll want to make your stencil so that it looks the right way on the papery side.

Good places for stencils are all over.  One great place to look is at pumpkin carving websites like pumpkinglow.com  some of these you have to pay for, but there are free ones.  A couple of the better free stencil sites I've found are Spray Paint Stencils  and Stencilry


4. Iron your stencil (waxy side down) on to your fabric, placing it where you want it (don't forget there's a 1/2 inch seam allowance) on low, maybe medium heat, no steam.


In this case I didn't leave much paper around my stencils because I'm using fabric paint and a brush.  If you're choosing to do bleach stencils (where you might have over spray) I'd leave more paper around the design.


5.  Place cardboard under your fabric in case any paint is going to bleed through.

6.  Now here's the really cool product I was talking about.  Fabric medium.  I had no idea this stuff existed until I saw it at the DIY club.    It's sooo cool.  You add it to any acrylic paint you have and BAM! you have fabric paint! How handy is that?!??!?!!


So either grab your fabric paint, or mix your fabric medium and paint according to the bottle.


7. Paint in your stencils, being careful around the edges.  


I chose to use the cut outs as well on the backs of the pillows


8.  Let the paint dry for 24-48 hours, remove the stencils, and follow any additional directions on the bottle (ie.  Iron, wash, etc.)


9.  Now it's time to sew the pillow cover together.  Place your square good side up and then place your 2 smaller pieces good side down and overlapping each other on top of the square.  Pin and sew in place.  


Turn the case out, stuff with your pillow, and TA DA!  Fall throw pillows!


Another fall pillow at:

Scrappy pillow @ Gwenny Penny


Check out the other projects that I've posted this week!

UCreate: Create With Me Pumpkins

For the past few months I've wanted to participate in Kari's monthly Create with Me project over at UCreate.

I missed out so far, but I did it this month!

This month she featured a tutorial by Holly Brimhall!


Aren't her's cute?!?!


...and here's my motley crew of wanna-bes.  

I'm also thinking about adding some fall garland to the table to dress it up a bit more.


I might try to put different bows on them to make them a little cuter.

The best part of this, I made it completely from my stash!

The fabric is all from my stash, same with the ribbon bows, and the pumpkins are stuffed with some dryer sheets (WTHW inspired!) and the rest??  I used the tissue from patterns I got for free that I'm never going to use!  


There's still time to join in over at UCreate!


Other pumpkin ideas to check out:

Beadboard pumpkins @ Oopsey Daisy
Stuffed pumpkins @ Generally Crafty
Tons of painted pumpkins @ Sassy Sites


Check out the other projects that I've posted this week!

Monday

Tuesday

Monday, 13 September 2010

Clutch

I started making a dress to go to my friend's wedding (which I gave up on the day before, and chose something out of my closet to wear because finishing the dress for the next day was too much hassle)  BUT I did finish the clutch that I made to match!


I followed the tutorial on noodlehead, and it went pretty well!

I made a couple of flowers that add a little extra pretty.  The whole purse was made from stuff from my stash! Yay for stashbusting!!

The inside is just black, I added the divider and card pockets that it suggested, but I think next time I'd skip the divider.


I'll definitely be making more of these. Maybe as Christmas gifts!!


Tuesday, 10 August 2010

Bandana Skirt Tutorial

Here's the instructions for how to make this skirt!


First, what you'll need:

Bandanas - I used 3, and I'm about a medium or a 8 or 10 in pants/skirts/dresses

Jersey for waistband - this could even be an old tee shirt

jersey for underneath (I used white) I can't really tell you how much because I never measured it.


I'm going to say that I followed this tutorial fairly closely, but because my skirt was from bandanas and not stretch lace, it's not exactly the same.  If you get really lost, I'd suggest referring to that tutorial because I'm still new to trying to explain my (probably wrong) ways of doing things when I sew.

Step 1:

Waistband

From the above tutorial, the length of your waistband is your waist measurement (or where you plan to wear the skirt) divided by 2, minus 4, plus 1.  

So if your measurement was 29:
29 / 2 = 14.5 - 4 = 10.5 +1 = 11.5

and you'd cut 2 pieces that are 11.5 x 6 inches.

I wanted to have less seams, so take your measurement (29) Subtract 8 (21) add 1 (22).  Cut a 22 X 6 inch strip with the stretch in the direction of the length.

This basically gets you to the same place, but with one seam instead of two.  

Fold the band over, wrong sides together, and over lap the ends (right sides together) and sew together.


Step 2:
Next I cut all my bandanas in half.  I made sure to cut them with the "100% cotton made in china" writing going up the side, as opposed to across what will become the bottom.  After cutting them, zig zag to finish the top edge (or serge).


Step 3:
For my top layer, I used 3 bandanas all with the Made in china part.  I pinned them together and then sewed so that the made in china part could be cut off.  Make sure to finish the seam (zig zag) after cutting it off.  

Sew all 3 half bandanas into a loop.


Step 4:
Sew a ruffling stitch across the top of your bandana loop.  It helps to do this in a different color because we'll be taking it out after!  

Now pin one of the skirt seams that you want to be the back to the seam on the waistband(so that the open end of the waistband lines up with the zig zaged edge of your bandanas).  Find the centre of the waistband, and pin the centre of the bandanas together.  This way you can have slightly more even ruffles.


Step 5:
Pull the bobbin thread (which is the top one here) to create your ruffles.  Keep ruffling until the bandanas are the same length (gathered) as the waistband.  Pin the bandanas to the waistband.  Repeat on the other side.


Step 6:
Sew on top of your basting stitch (pictured in black) with a zig zag stitch.  Remove the basting stitch.  


Step 7:
Try your skirt on.  Right now you should have one layer of bandana on a waistband.  Fits? Good.  


Step 8:
Figure out how far you want your next layer to hang down.  Measure the distance from the waistband seam to the top of your next layer, and add half an inch for seam allowance.

That is how wide you want to cut your knit fabric.  For me it was 6.5".  As for length, it should be enough to go around you at that level of the skirt plus some for ruffling.


Step 9:
Sew your knit fabric into a loop.  Ruffle it again by sewing a basting stitch all around the top.  Pin the seam to line up with the waistband seam, and pin the middle to the middle of the waistband.

The bandana should now be sandwiched in the middle.  Ruffle the knit to the same length as the waistband and pin in place.  

Sew the knit onto the waistband, again using a zig zag stitch.  If you can pull out your basting stitch, do it.  Mine didn't want to, but it ended up okay.


Now you should have a 2 layer skirt - one layer of bandana, and one of knit.


Step 10:
Follow steps 3-6 to sew your bandanas together and ruffle them for the second layer.  My second layer was slightly bigger than my first because I used the parts without the made in china writing.  

This time instead of sewing the ruffle to the waistband, you're going to attach and sew it to the knit (good to good).


Step 12:
Try it on!! If you like the length, you're done!  If not, keep adding layers!


If there's anything that doesn't make sense, or that I left out, please let me know! 

Also, if you give this a try, I'd love to see it!! Email me at envirocraftiness@gmail.com

*Linking up to my favorite Tuesday Parties*