


One thing I love is freezer paper stencils! They're sooo easy and the results are great!
I've done this on tee shirts, and this is the first time I'm trying something else. AND I'm trying a brand new product (to me) which is very exciting, but I'll get to that in a bit.
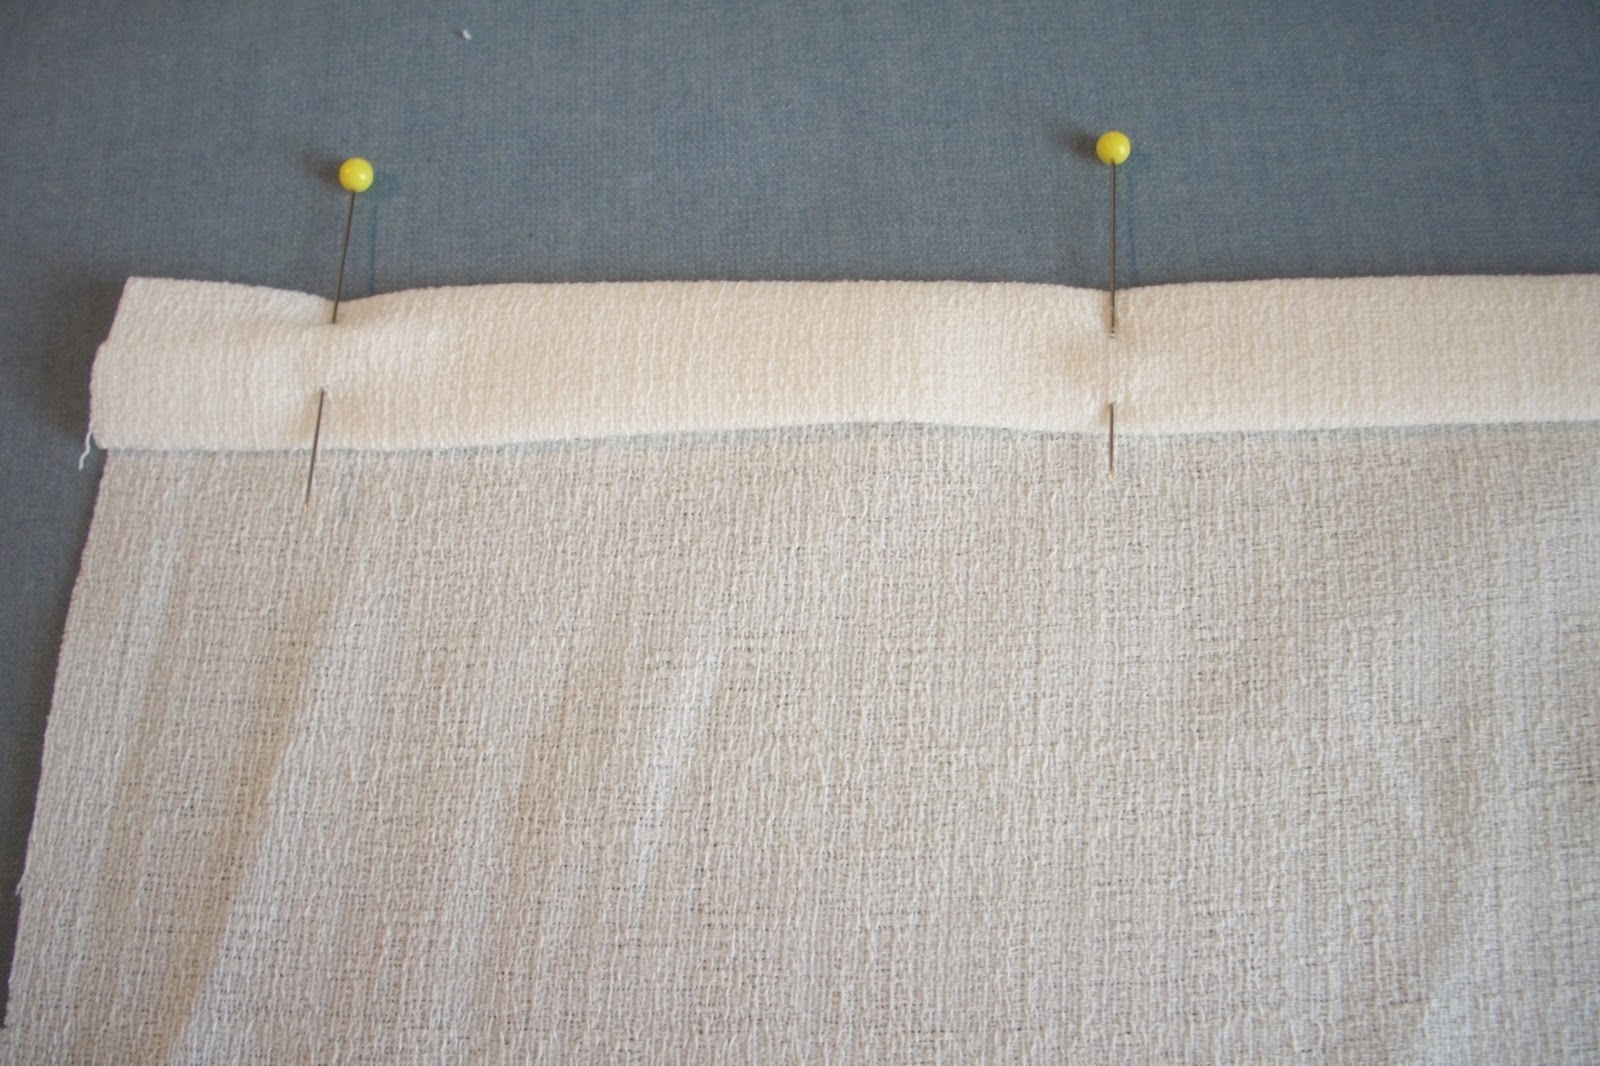
1. Measure your pillows and cut one square of your material an inch bigger to allow for a 1/2 inch seam allowance. Cut 2 pieces for the back that are the same width as your square, but 2/3 as long. Ex. If your pillow is 17x17, cut one square 18x18, and then two pieces that are 18x12. Also, the fatter the pillows, the longer you might want to make the two back pieces.
2. With your two smaller squares, fold one edge over twice, press, and sew in place. I did it this way because the material I'm using is super fray-prone, so I wanted the raw edge enclosed. Another option is to serge or zigzag the edge, and only fold over once.
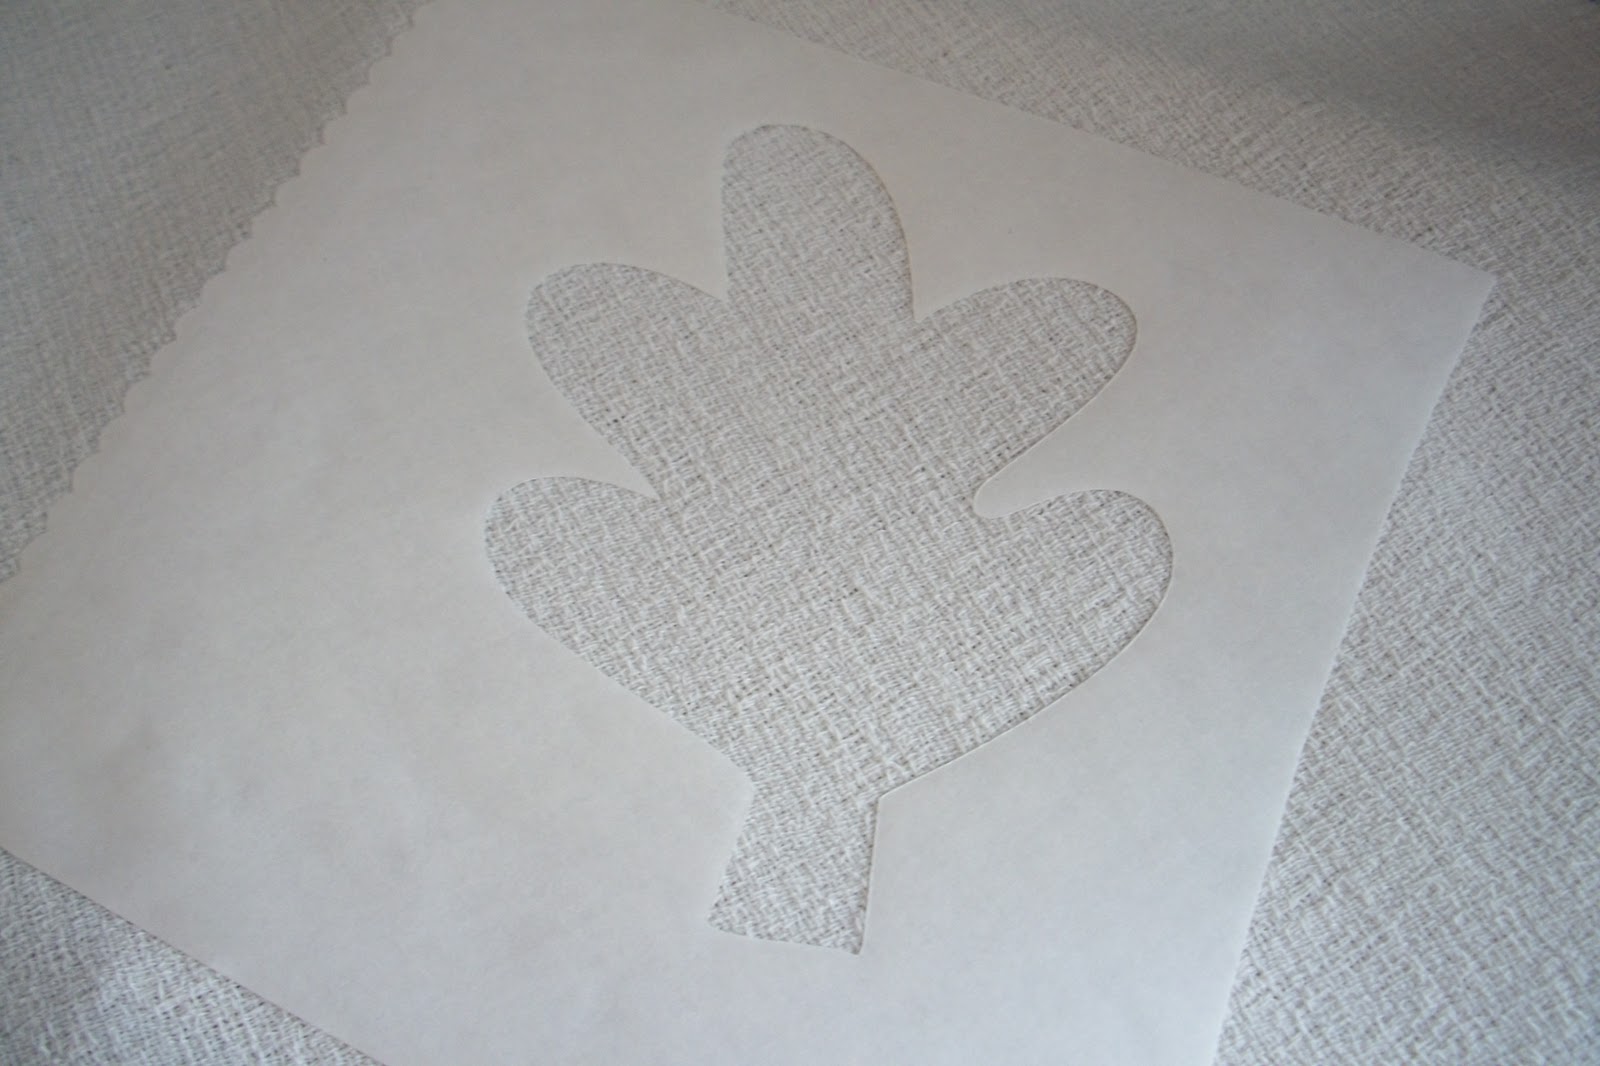
3. Next, get out your freezer paper. Freezer paper is NOT wax paper. It is waxy on one side, but papery on the other.
Cut whatever you'd like to stencil out of it. You can do this using a cricut (again, I used the doodlecharms cartridge) or you can print something off your computer onto the papery side and cut it out with an exacto knife. You'll want to make your stencil so that it looks the right way on the papery side.
Good places for stencils are all over. One great place to look is at pumpkin carving websites like pumpkinglow.com some of these you have to pay for, but there are free ones. A couple of the better free stencil sites I've found are Spray Paint Stencils and Stencilry
4. Iron your stencil (waxy side down) on to your fabric, placing it where you want it (don't forget there's a 1/2 inch seam allowance) on low, maybe medium heat, no steam.

In this case I didn't leave much paper around my stencils because I'm using fabric paint and a brush. If you're choosing to do bleach stencils (where you might have over spray) I'd leave more paper around the design.
5. Place cardboard under your fabric in case any paint is going to bleed through.
6. Now here's the really cool product I was talking about. Fabric medium. I had no idea this stuff existed until I saw it at the DIY club. It's sooo cool. You add it to any acrylic paint you have and BAM! you have fabric paint! How handy is that?!??!?!!

So either grab your fabric paint, or mix your fabric medium and paint according to the bottle.

7. Paint in your stencils, being careful around the edges.

I chose to use the cut outs as well on the backs of the pillows

8. Let the paint dry for 24-48 hours, remove the stencils, and follow any additional directions on the bottle (ie. Iron, wash, etc.)
9. Now it's time to sew the pillow cover together. Place your square good side up and then place your 2 smaller pieces good side down and overlapping each other on top of the square. Pin and sew in place.

Turn the case out, stuff with your pillow, and TA DA! Fall throw pillows!


Another fall pillow at:


Thanks for stopping by my blog! Yes, that fabric medium is awesome and you did a great job with your project. Love the concept of your blog!
ReplyDelete