


However, all my stuff looks like junk. Most of it is stuff like nail polish, lotion, moisture gloves, etc. But it makes my room look messy.


Did you want to make your own?
Here's how I did it.
1. Measure how big of a box you need. Cut the bottom a bit smaller (~1/2 of an inch?) than you need it, because all the pieces glue to the outsides.
2. Use a utility knife to cut out all your pieces. I cut 2 of everything so that my box would be even stronger. If you want, on the piece that will be the front of the box, cut a handle.


3. Glue the "duplicates" together. With hot glue.


4. Glue the sides to the bottom piece. Try to hold them at a 90 degree angle to set.

5. Glue the front and back pieces on.

7. Make sure your boxes fit in their spaces. If not, make the necessary adjustments. (I had to rip the side off one of mine and trim & reglue!)

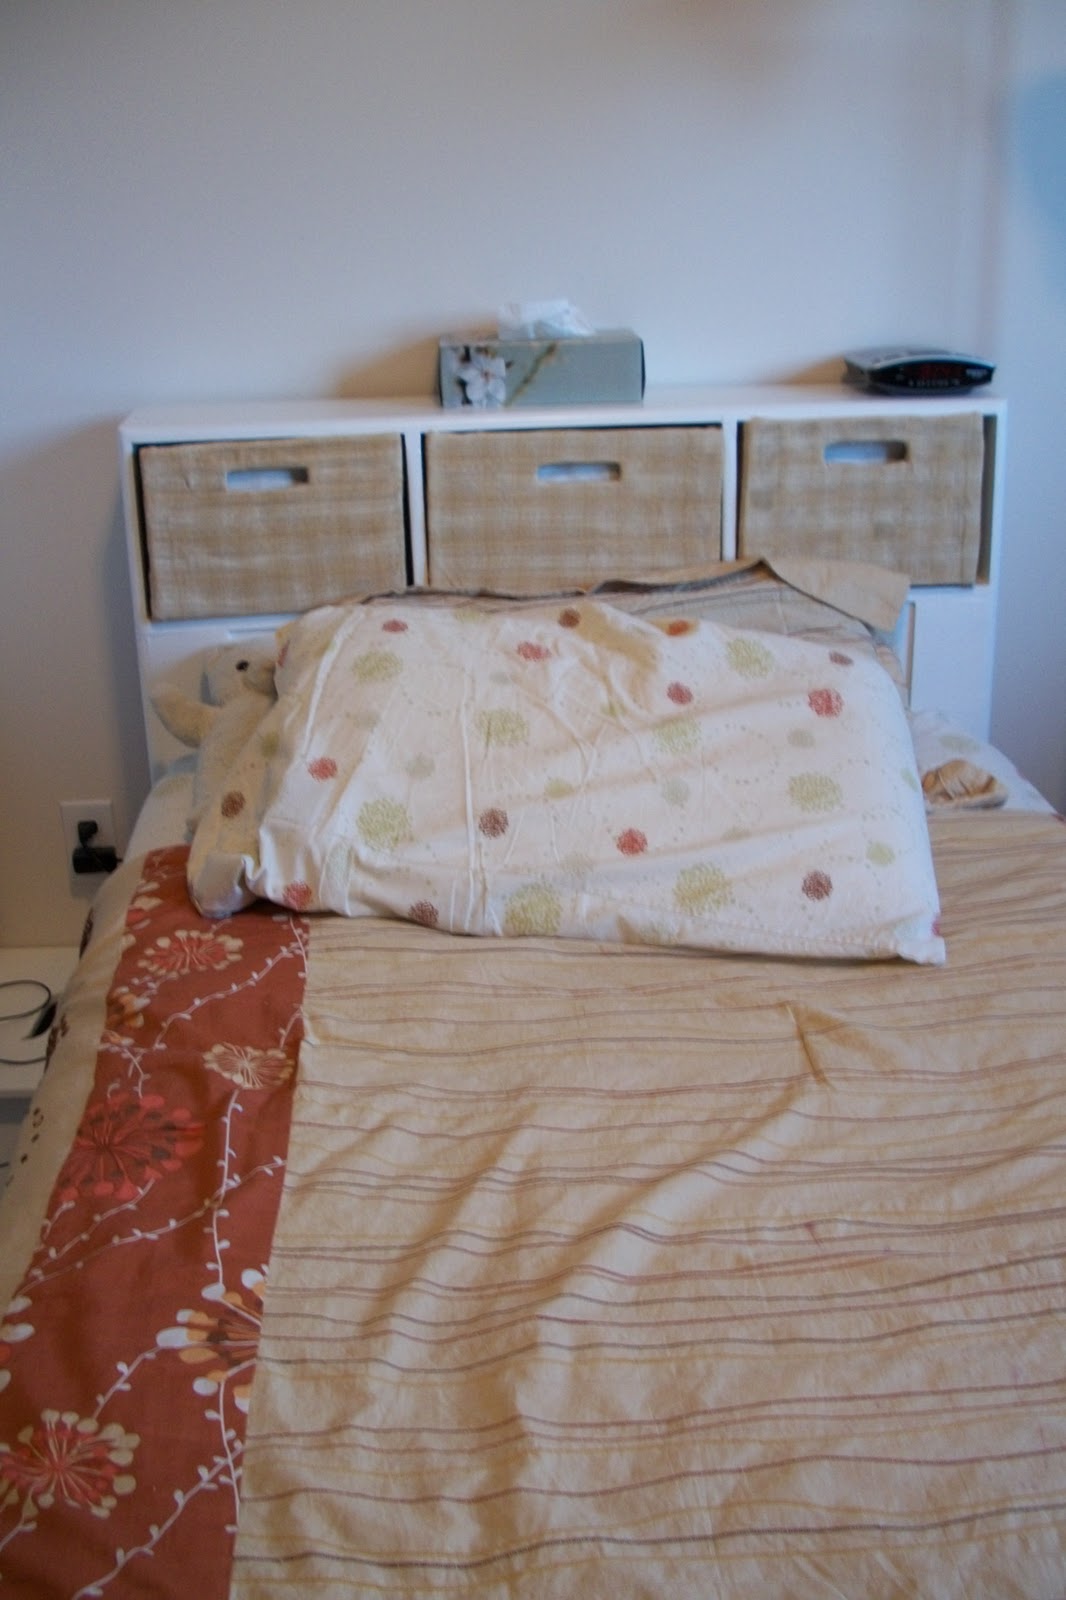
8. Now your boxes are done.

9. If your cardboard is nice, you could paint it. If not (mine wasn't!) I suggest mod podging fabric on.

10. I cut my fabric so that it covers the front and 2 sides. If you want, you could cut it long enough to wrap all the way around.

11. Using mod podge, attach to the front and sides. (Sorry, I didn't get pics of this, or the next step)
12. I used my glue gun to attach the fabric to the bottom and to wrap to the inside. This is quicker, and lets you pull the fabric nice and tight against the edges.
13. Cut your inside fabric (I just guessed by putting the box on the fabric). It'll be a square or rectangle, depending on the size of your box. Glue one side of the fabric to the box like this.

14. Do the same sort of thing on the other edge.
15. To do the sides, fold the extra fabric in like you would for the edge of a present. Tuck the top part under and glue so that the raw edges are all on the inside. Repeat on the other end.


There you have it. You're very own fabric covered boxes!

Linking to these awesome parties:


Those are a cute solution! I'd recommend you using spray mount or quilter's basting spray whenever you want to stick fabric onto something solid. It will keep it from having the glue bleed through the fabric and make it look more finished. You can also wrap the edges of the box with paper (papier mache) to give it more structural integrity and so the hot glue doesn't come off.
ReplyDeleteWow, those look great! Suck a huge difference to your room.
ReplyDeleteWhat a great storage solution! It keeps it all neat and clean -- nice job! And great tutorial! Thanks for sharing.
ReplyDeleteAren't you clever to make your own boxes. I would have spent hours looking for the right sized ones all over the place! I think covering them with fabric was a great idea, they really do make your room look tidy and neat!
ReplyDeleteXO
Heidi - Heart and Home
Those are awesome, I want to make them for my boys' rooms!
ReplyDeleteThat is a great idea to make your own baskets.
ReplyDeleteWow, very creative to make your own boxes from cardboard!
ReplyDeleteI will be using this great idea!
ReplyDeleteGreat idea. It is near impossible to find the right size boxes and who wants to wait? I think doing the Modge Podge with some cool paper would be fun, too. Thanks for sharing!
ReplyDelete