


Hi Everyone, today I'm doing my first ever blog swap and it couldn't be with a nicer person! Kimberly wrote an awesome introduction, so I'm not going to babble here too much! Check out her tutorial for a tee shirt necklace here and stop by bugaboo, mini mr and me where I've created a tutorial on how to make a mini scrapbook album from cds! With that, I'll let her take over!
Hey Envirocraftiness folks! I’m so excited to be doing my first ever blog swap at Jill's! Jill and I “met” when we both guest judged a “stashbust” challenge for another talented blogger and it was evident we shared a love of upcycled crafts! Because everyone can use good ideas for making old things new again, I've decided to show you a little number I call The T-Shirt: Necklace Style.
That’s right! We’re making a necklace out of an old T-shirt.
You’ve gotta have the following items:
An old t-shirt (obviously)
matching thread
various sized ugly beads (also from the stash!)
Scissors (a rotary cutter would be better...)

And that’s it guys!
An explanation: you don’t really have to use ugly beads, but I figure, why not? You aren’t going to see them at all anyway. So for mine I used some mardi gras beads I cut apart and two other types of beads from necklaces that have broken and never been repaired. This gives me three sizes total to work with, which I think is perfect - but you can use more or less.
Here are my beads with a penny for size reference.

Alright. Lay your shirt out flat and cut the bottom off. (as I said, a rotary cutter would work loads better. But mine was all the way down in the basement, like a whole 12 stairs away, so I used the kitchen sheers. Don’t judge.)

Now, measure up from the bottom about 3-4 inches or so and cut across.

Do this again, so you have two double layer rectangles of shirt torso.

Now, take one of those rectangles and cut both side seams off

so you end up with two single layer rectangles.

Cut both of these rectangles into 1 inch (ish) strips from one side and stopping about an inch from the other side.

Tie this end in a knot

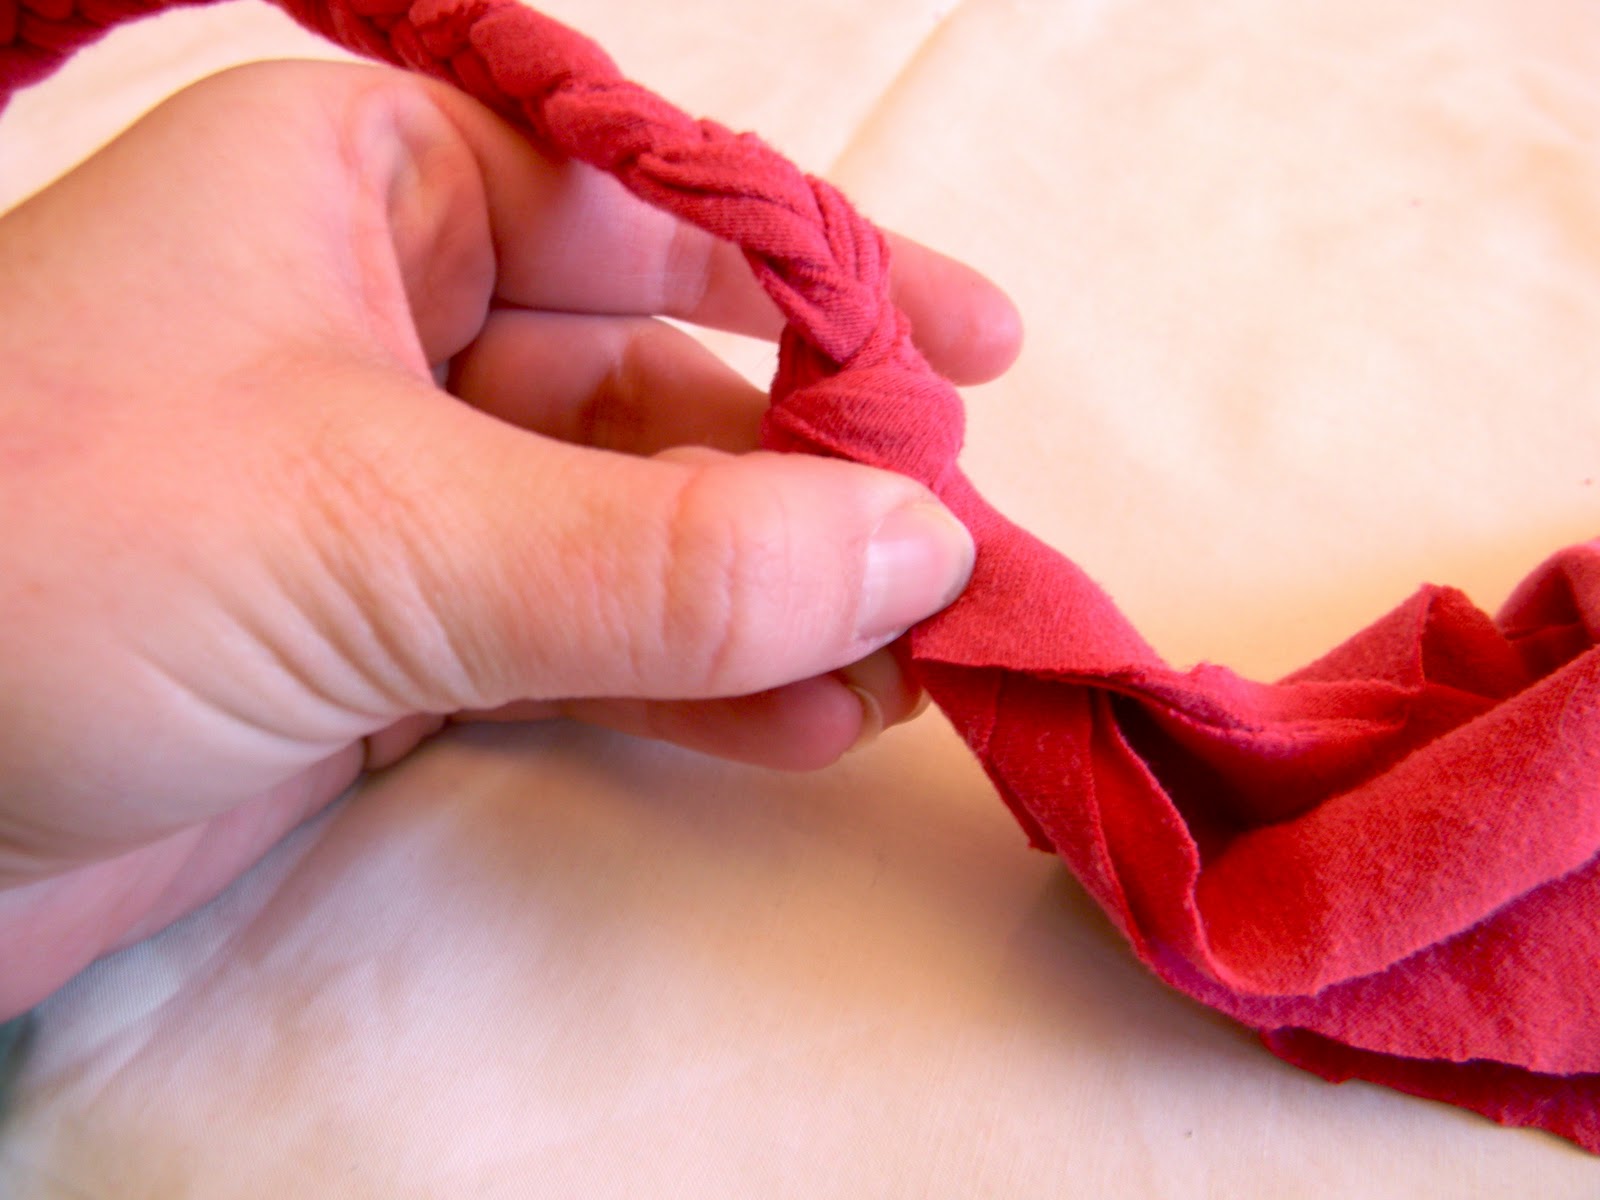
and braid the strips down, leaving a tail.

Do this with both and make sure there are a few inches of unbraided shirt left.

Take a piece of thread and wrap it around the end of the braid a few times,

then double knot it.

Now, cut the two side strips off, leaving only the middle one long. Do this to both strips.
Set these two braids aside.

Move on to the next double rectangle.
Cut only one side seam off, then cut the long rectangle into strips that are about an inch (ish) wide. Cut a bit of length off one, and a bit more off the third so that all three strips are a slightly different length.

Layer these strips one on top of the other with the ends lined up.

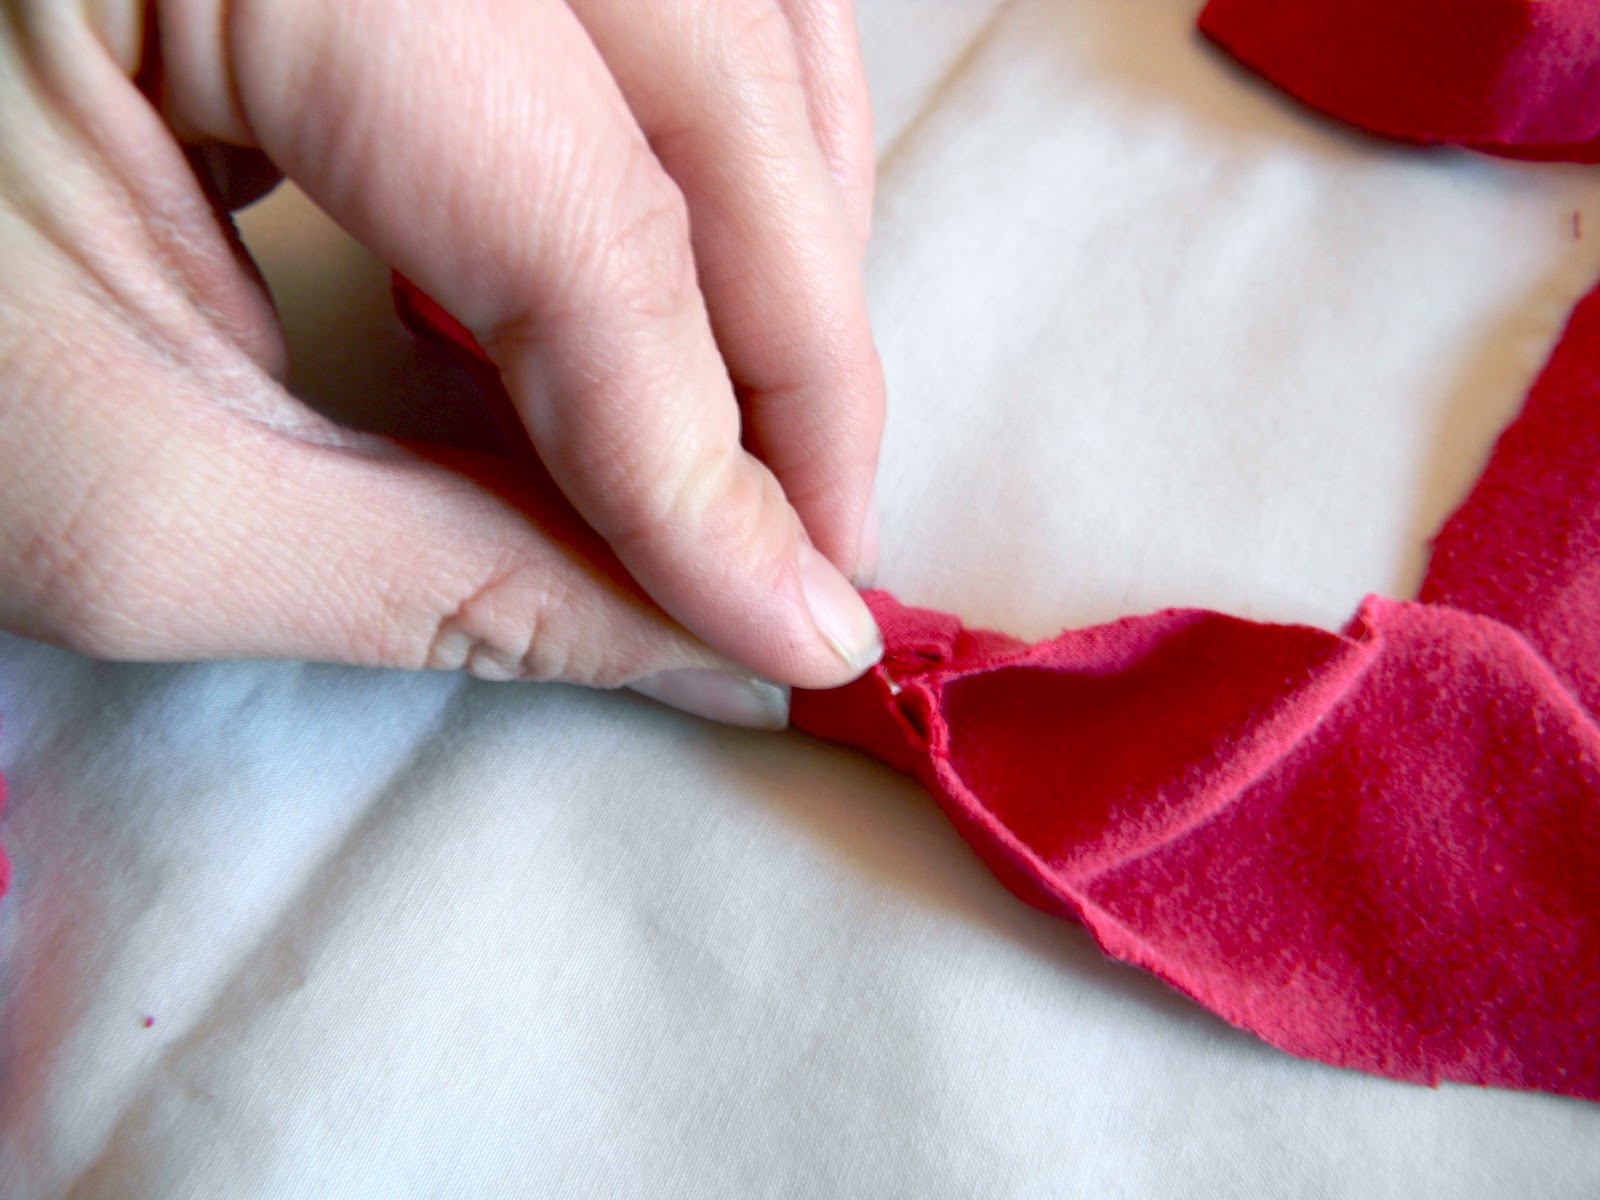
Place the KNOTTED end of a braided piece over the strips.

Wrap the sides up and around the braided piece where they overlap.

Take a piece of thread and wrap a few times around, then tie in a double knot.

Do this same thing with the other end of the strips and the other braided piece.


I should have taken a picture of the whole thing at this point, but I forgot. You would have, if laid out flat, from left to right: a braided piece, knot, tied end of strips, three different lengths of flat t-shirt strips, tied end of strips, knot, and the other braided piece.
Have I thoroughly confused anyone with my convoluted explanations yet? Good.
Start beading with the longest strip first. Use your little beads.
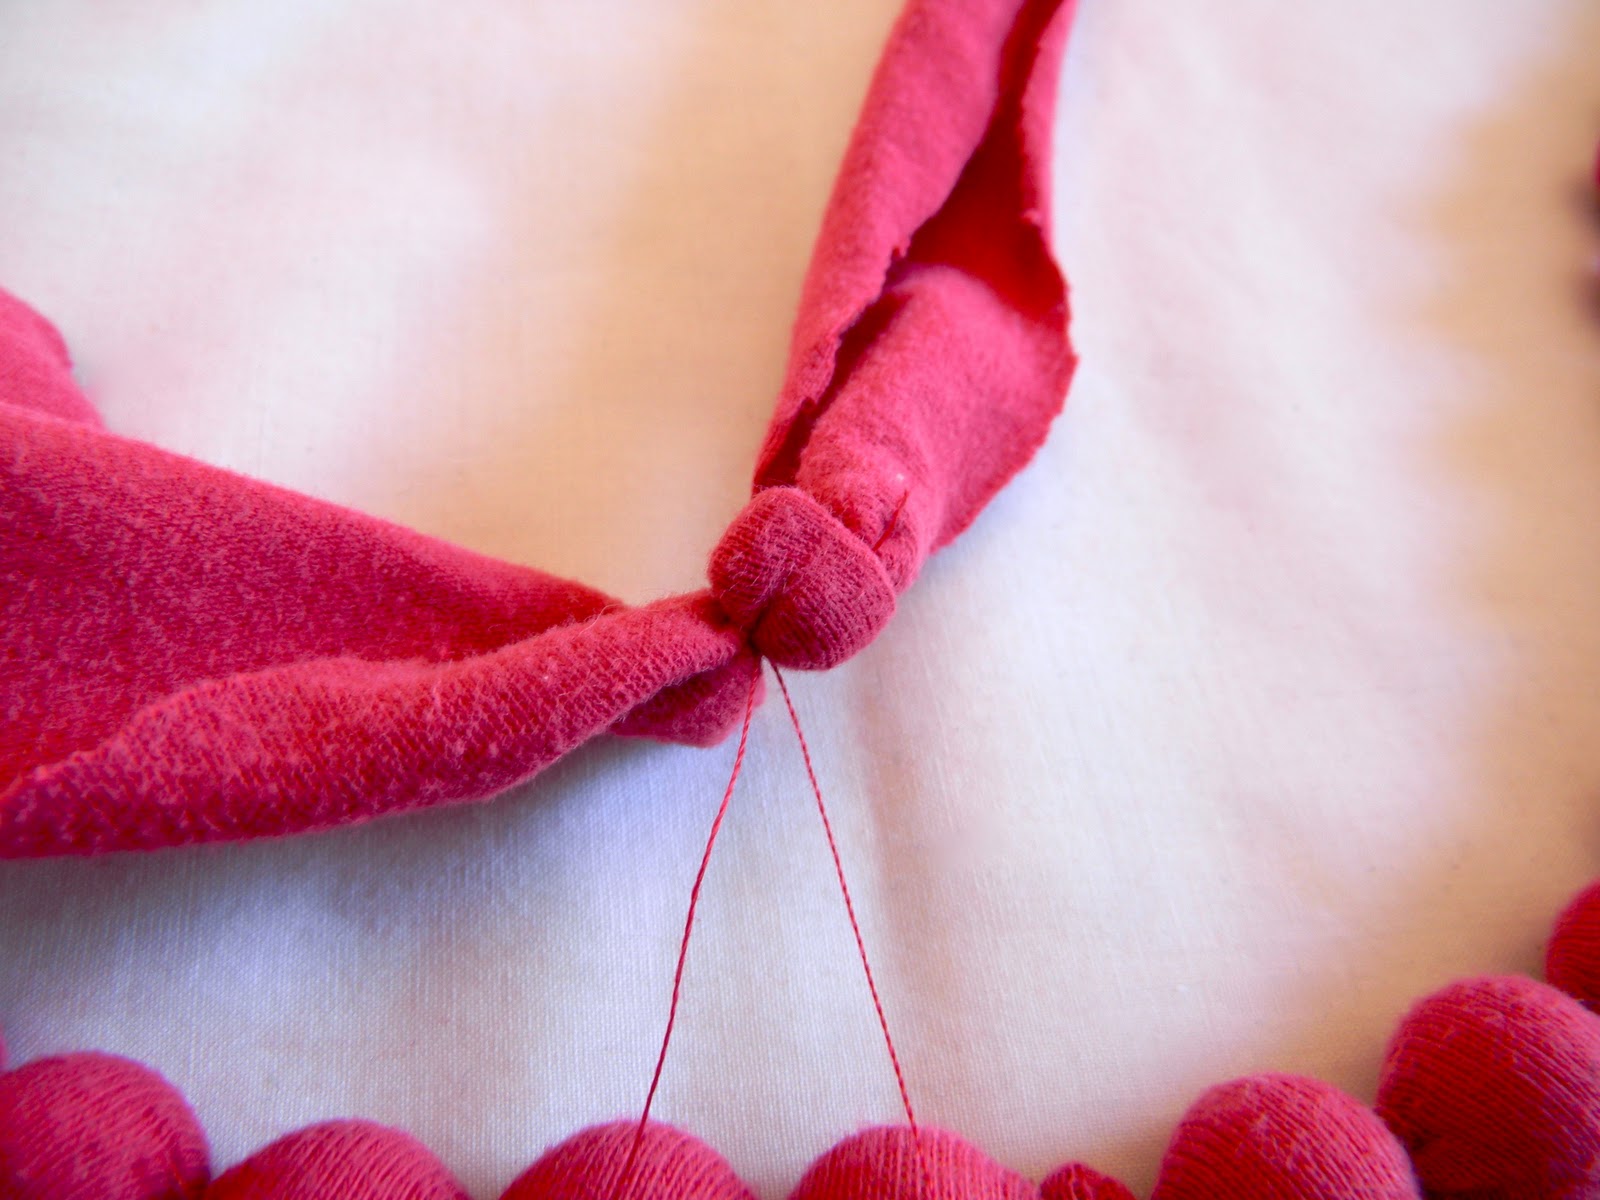
First, tie a piece of thread around the seam - which should be approximately in the middle of the necklace - pull it tight and tie it in a double knot.

Now, stick your little bead in the strip, right up against the thread knot,

and wrap the sides of the strip around.

Take a piece of thread and wrap it around the strip a few times, then double knot it.

Place a second bead right after this knotted thread.

Pinch the strip up and around the bead again,

wrap a piece of thread around it a few times,

and tie in a double knot.

Repeat.
Repeat.
Again and again.
At this point, you may question the whole decision to make this. If you didn’t know it would be so cool, you just might stop now.

Because you started at the seam in the middle, you will need to go both directions.

Right about here is where you start to worry you may run out of blue beads.

And when you get to the end of a strip, just tie some thread around it and knot.

Phew! One down, two to go!

Start at the seam in the middle again.
Tie some thread around it and knot, just as you did before.

Move on to your medium sized bead, and place it next to the tied up seam. Wrap the sides up and around.
Use thread to wrap a few times and double knot.

Repeat. Again and again - you know the drill.
And there’s the second strip all done!

For the third strip, knot a little bead right there in the seam, as you did with the first two. (Good thing you found another blue mardi gras beaded necklace!)
Then, add a little bead on either side.

And the biggest bead on either side of that.

Then just repeat this pattern

until you run out of big beads. Or, until you run out of strip. Whichever comes first.

If you, like me, run out of big beads first, then just fill the rest of the strip with little beads.
Now, inspect.
Some of your necklace may look like a fuzzy caterpillar, which isn’t really what we’re going for.

So, take a small sharp scissors (NOT your kitchen sheers) and trim those threads away.

Tie the ends of the braided pieces in a cute little bow.

You are done!

I think this t-shirt looks much better as a necklace than as a pile of rubbish on the shelf.

If you’d like to see more upcycled t-shirts, check out my Strips and Scraps T-Shirt Vest.
I also have some other fun things on my blog, like DIY stained glass, kid’s crafts, yummy recipes, a LOT of wreaths, and more!


So pretty Kimberly! Much better as a necklace!
ReplyDeleteHi Jill, I just found your blog through Kimberly's! I love everything crafty that is recycled. So your blog is a perfect fit for me to follow. Looking forward to seeing what you are up to!
Michele
That is pretty creative. The necklaces are beautiful.
ReplyDeleteI especially like the knotted one you showed first.
Thank you for the tutorial
Regards,
Mara @ Prayer Necklace