Showing posts with label Mod Podge. Show all posts

Tuesday, 9 October 2012

Wedding Card Box

More craftiness for my sister's wedding! Yay!

I had offered to make her a box for her wedding cards.  We'd originally been inspired by some vintage suit cases and that type of thing, but we weren't interested in spending a lot of money.

Card box

At my dad's condo, I found this empty tea box.

Card box-before

Card box before
That looked perfect!

I ripped the foam-backed velvet out of the top, and there was a velvety tray in the bottom that had to come out too.

I took the hardware off and took the box apart, gave it a light sand, and then painted it with cream acrylic that I had on hand (spray paint would have been much easier, but being enviro-crafty -and cheap- I used what I already had)

Painted box


Wedding Card Box Inside

The inside of the bottom was just some (Tim Holtz?) kraft scrapbooking paper. 

I then painted some Tim Holtz grunge board triangles for the bunting, and also cut out the word CARDS.  For the letters, I painted them pinky-coral, and then added a layer of Diamond Glaze (similar to mod podge dimensional magic) and let them dry. 

Diamond glaze letter

 Putting the whole thing together you get a cute little bunting!

On the inside of the lid, I mod podged sheet music that I have had floating around since I bought it at a garage sale.    *the first attempt was upside down*
Wedding card box

On top I used a photograph from their engagement shoot, by her fantastical photographer Randal, of Randal Kurt Photography and added some scrapbook flowers to go around it!

IMG_1564

Leslie really liked it and actually said, it's so nice that I think I might just leave the cards in there after the wedding! Awwwww! 


      Dragonfly Designs     ”Tip  


Friday, 17 June 2011

More Tile Coasters!

Remember these I made a while back?

100_2567

Well I was at it again....

100_2618

This time for my friend Megan!

Instead of printing off graphics I used some fun scrapbook paper and rub ons by Top Line Creations.

For full tutorial click here

100_2620

100_2621

100_2623

100_2625

Fun right? :)

I'm just finishing up a set for my sister, once I can get myself together I'll be posting those too!

Thanks for checking them out! Have you tried this yet?  It's so easy and so much fun - especially if you have a ReStore nearby!

Saturday, 16 April 2011

Recycled Tile Coasters

As part of her Stashbusting Crusade, Robin from the T-Shirt Diaries invited me to write a guest post! Spring is a great time for stashbusting/purging/cleaning!  Just in case you missed it, here are the coasters I made!

Today I'm busting some ceramic tiles from my stash.  I bought them at ReStore for $0.20 a piece with the intention of making coasters as gifts at Christmas time.  Then I wanted to get them done for my friend's birthday in February. Now it's April....

I started with these tiles.  I love going to ReStore because they have so much neat stuff at good prices.  It's nice to know that all these construction materials are being saved from the garbage!
100_2307

Next I found some images I liked over at the Graphics Fairy.  I've talked about Karen's site many times before - if you haven't checked it out, why not?!
The Graphics Fairy

I picked 4 images I liked and resized them in a word document and placed them how I liked.  I did a test run on plain paper to make sure they were the right size and in the right position.

100_2311

Once I was happy with how they printed I did a good copy onto some old book pages - also from my stash.  I had received these dictionary pages from another crafty mind years ago when she was trying to de-stash!  

100_2312

After I was done printing my images I trimmed them down to size for my coasters.
100_2319

Next step was mod podge! I bought the outdoor stuff just to make sure that it held up against the moisture from glasses.  
100_2325

I used my trusted mod podge gift card to make sure there weren't any air bubbles under the paper.
100_2327

Once that dried, I applied one coat of 'podge to cover the paper too.  I usually use a regular paint brush to apply mod podge because I don't like the little foam brushes.  I'm apparently too violent and break the little plastic thing on the inside all the time.  I realize that using bristle brushes leaves brush strokes, but I've come to peace with it.
100_2328

After they were dry I was ready to call it done.  The outdoor mod podge however left them feeling tacky, and when you set a glass on them, it stuck.  I found a clear sealer spray and gave them two coats of this, which fixed the problem!

Here's where I have a confession to make.  I had to *gasp* SHOP to finish this project.  I know, it goes against the rules of stashbusting, but I ONLY bought what I needed, and I figured that the buying to busting ratio was more than reasonable, so I figured I could forgive myself.

I picked up a bunch of these little guys:
100_2562

I know I could have busted even more stash by cutting up some felt or something similar to put on the bottom, but I really wanted them to have that professional, polished look.

I applied one to each corner like so
100_2565

100_2570

Voila!
100_2567

Reach into your stash and grab a ribbon to tie around them and they're ready to give to your bestie as a belated Chris-birth-gift!  Total cost = $3.01 (not including printer ink/mod podge/sealer)  This gift recipient reads my blog.  Thank goodness she loves a great deal as much as I do! :P
100_2572

One set down, a box of tiles to go!
100_2575

Time to head back over to the Graphics Fairy!


  Tip Junkie handmade projects

Thursday, 13 January 2011

Cubicle Decorating: Desk Survival Kit

Part One: Desk Survival Kit


I came up with this!


I started off with an organizing box from the fishing tackle box section (this is where I found the best variety of containers at the best price - the ones in the crafting sections are so much more expensive for the same thing!!)

I decorated the top with scrapbooking paper and mod podged it on. I added a cute rub on too!


And then I filled it with all types of goodies that I might need at my desk at some point or another (my office is out in an industrial area, so if I were to need something, it wouldn't be a quick trip to run out and get it)


So what's all in my box of goodies?

Well, firstly, quick wardrobe fixes:
TIDE TO GO PEN (not pictured -  it's already in my desk drawer, but will be added to the kit)
STICKY LINT ROLLER


Personal Care:
TRAVEL SIZE HAIRSPRAY
TRAVEL SIZE DEO
BURT BEES LIP BALM (I'm a super lip balm addict, I go crazy if I forget it!!!)
BLOTTING PAPERS - not pictured (I'm an oily skin person, so by mid-day I have a BP-like slick on my forehead-GROSS)
MIRROR COMPACT (not pictured)
COMB (not pictured)


Dental/Breath Helpers:
MINTS
GUM
DENTAL FLOSS
TOOTHBRUSH
TOOTHPASTE


Feminine Products
PADS
TAMPONS


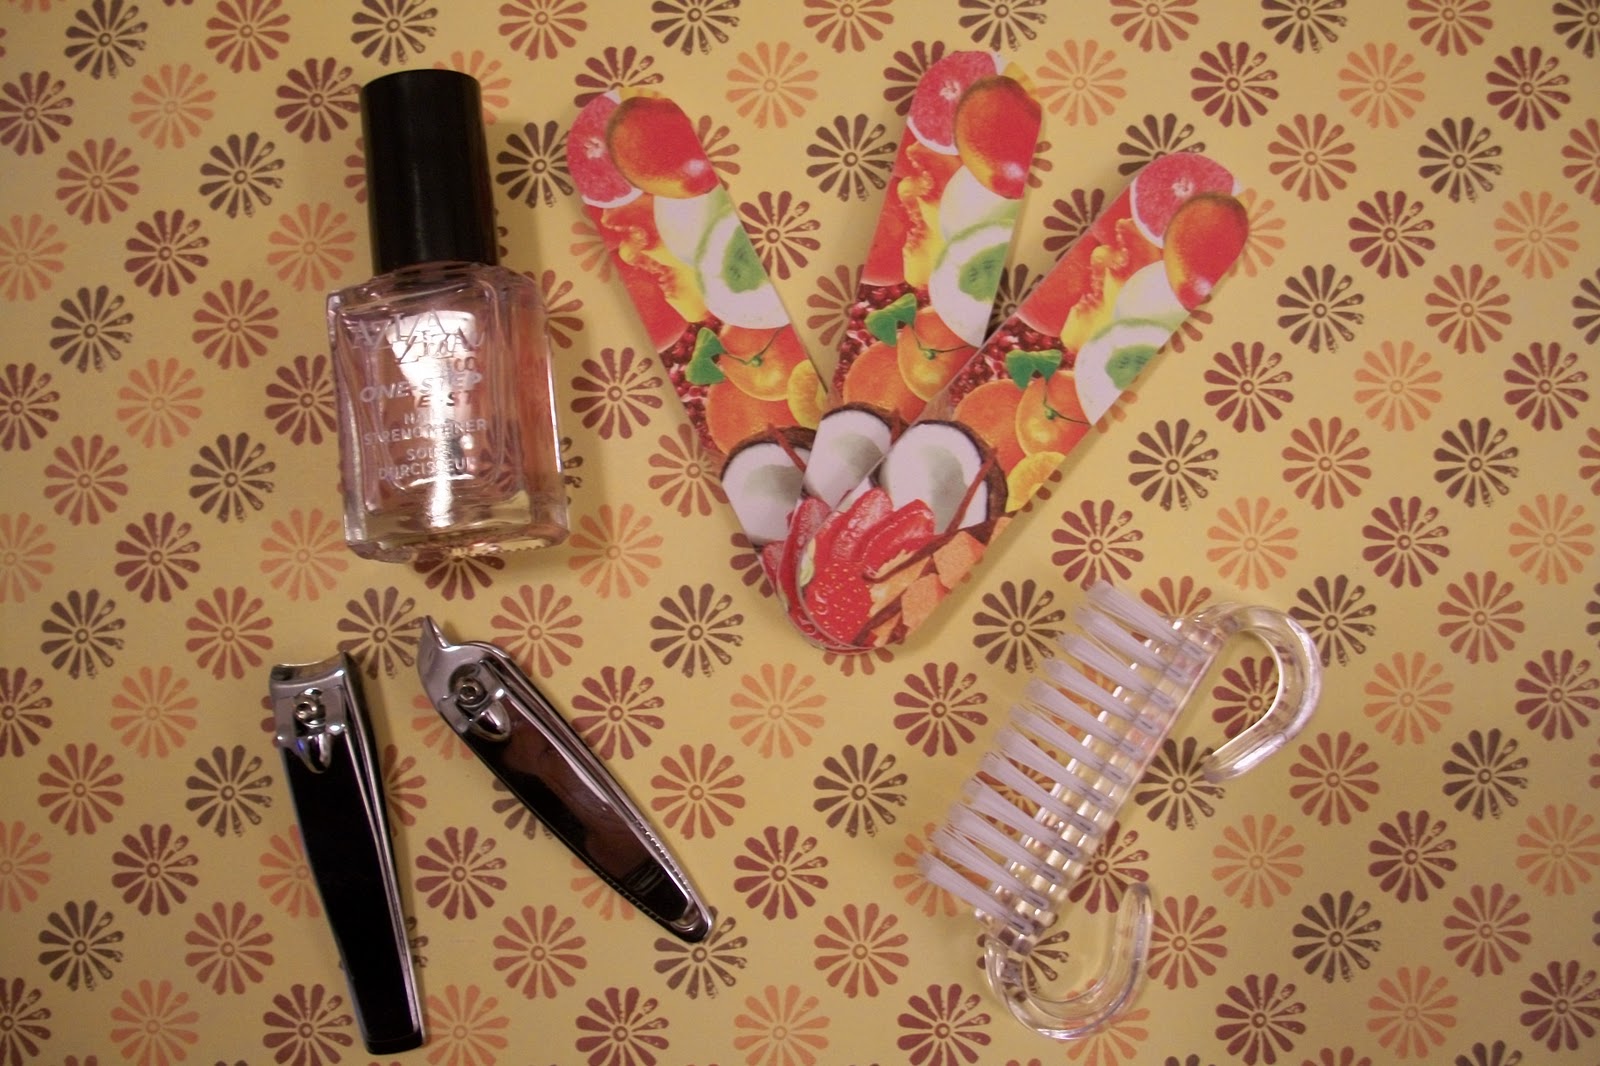
Nail Care:
CLEAR NAIL POLISH
EMERY BOARDS
NAIL BRUSH (My nails are usually really short, and tend to get really dirty underneath, and it seems that a nail brush is the only way to deal with it!)
NAIL CLIPPERS (I actually found a little set with the 3 emery boards, nail brush and 2 sets of nail clippers for $2!!)
HANDSANITIZER (not pictured.  I'm not a huge fan of this stuff because I believe in good old fashion hand washing, but I think it has it's place every now and then)


CRAZY MULTI-TOOL (I have no idea where I got this from, but I decided it would be best off in my desk kit.  It has a cork screw, bottle opener, nail file, knife, saws that really aren't sharp at all, a screw driver, scissors... and all that other stuff that no one really knows what it is or what to use it for)


Disposables:
WET WIPES
BANDAIDS
Q-TIPS
COTTON BALLS (don't ask me what I intend to use these for, but it seemed like something I might want as I was gathering other things from the bathroom!)


TYLENOL
I'm considering adding some decongestants into here too
COUGH DROPS (not pictured)


SEWING KIT
SAFETY PINS (not pictured)


Being a ponytail girl I can't live without
HAIR TIES 
BOBBY PINS


CANDY


So there you have it.  Everything I think I might need (and way way more I'm sure!)


Do you have a stash at your desk? Did I miss anything that you think I should have? Let me know what you think!

Photobucket